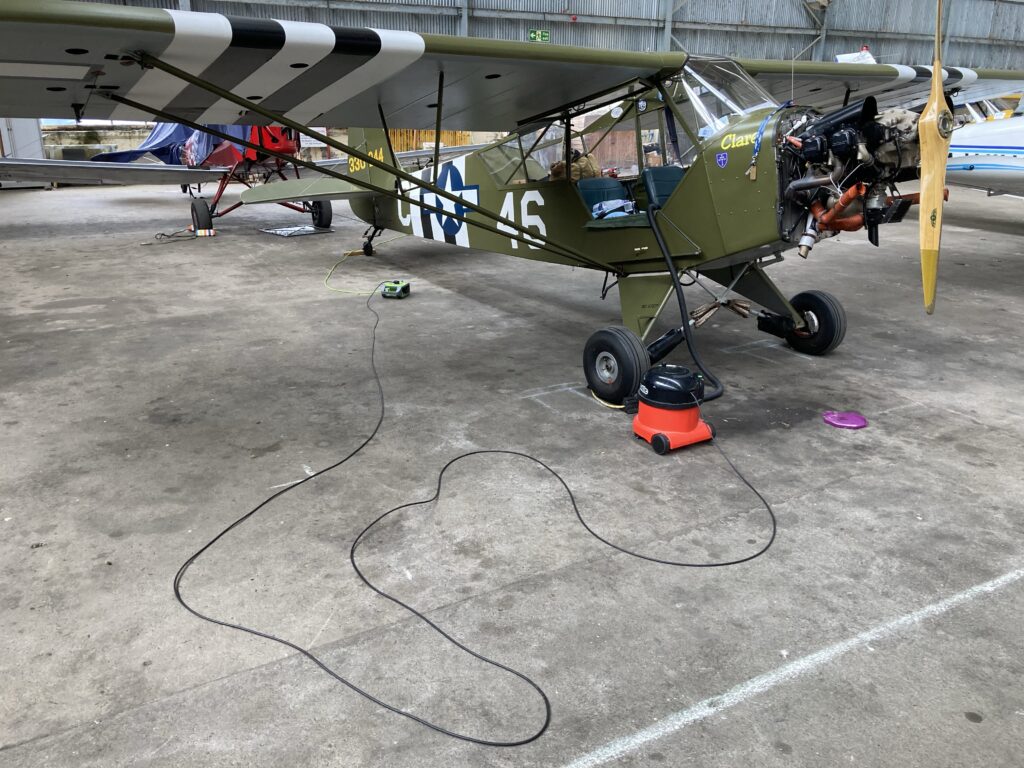
Continuing the process of moving the Cub from a Certificate of Airworthiness to a Permit to Fly. We had already weighed the aircraft and done the paperwork sift to ensure all was up to date. All the panels came off:

The aircraft got a good clean, inside and out:
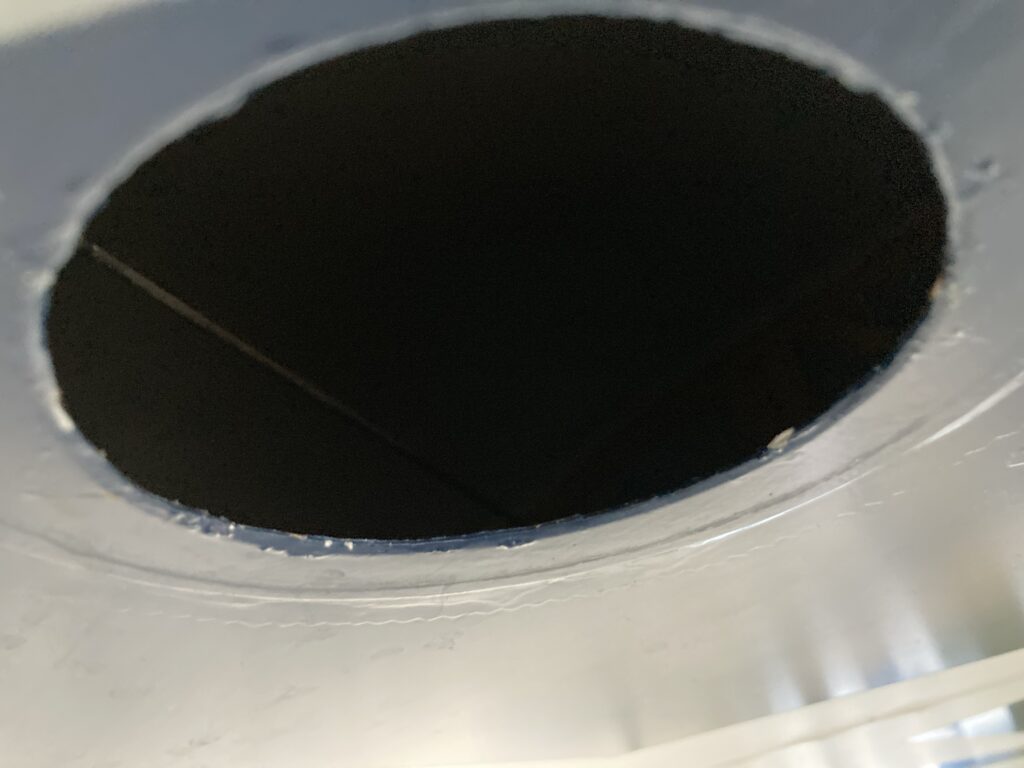
The access hole for inspecting the horizontal stabiliser trim mechanism:
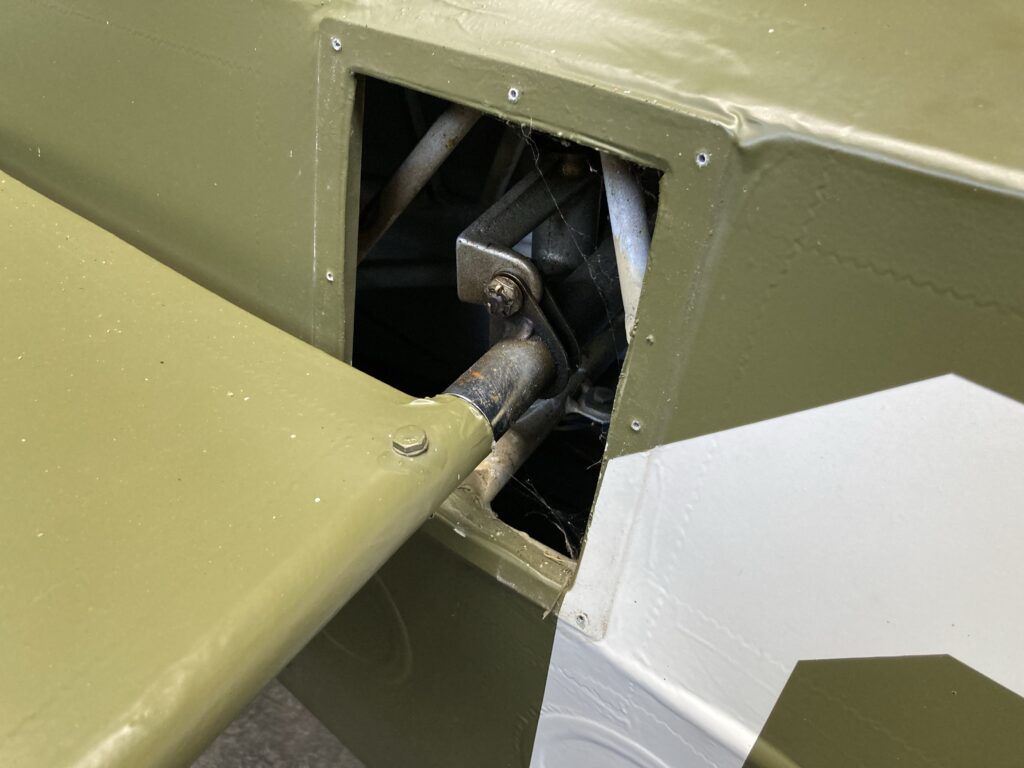
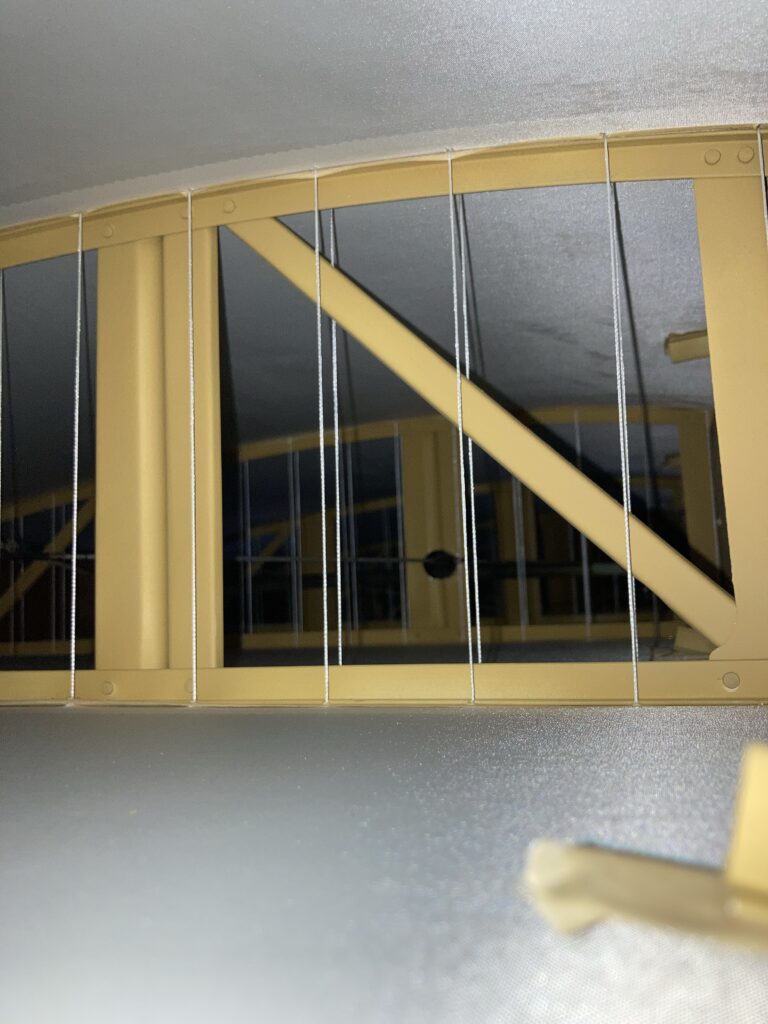
Further back, the elevator control horn and control cable turnbuckles are revealed:
The underside of the wing has about eight inspection holes in the fabric
A view inside the wing, taken through one of the access holes. Looking good so far, but see later on…
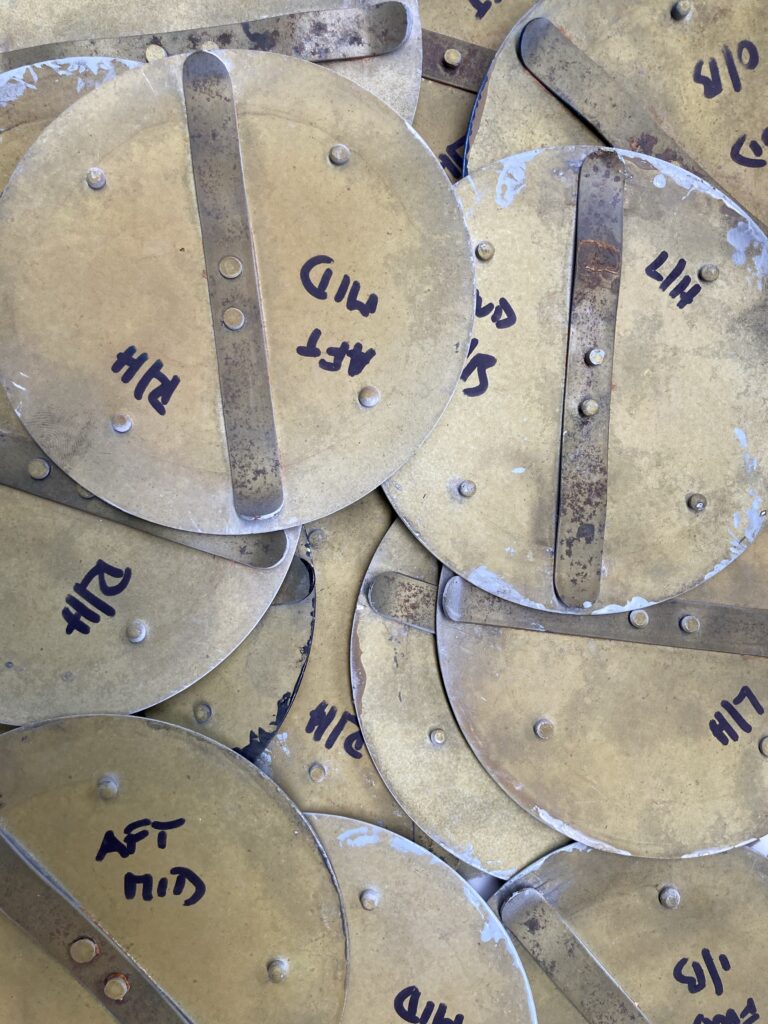
All the circular access discs are marked with their location on the wing…
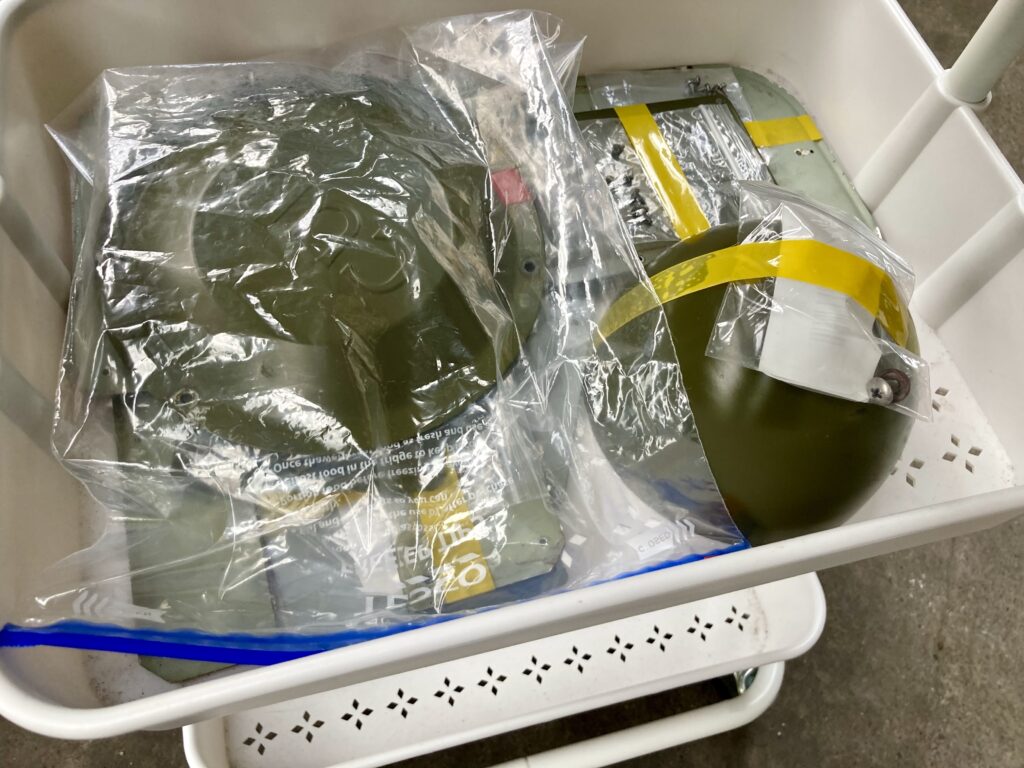
Trying to keep all the screws with their correct panels involves a lot of plastic bags:
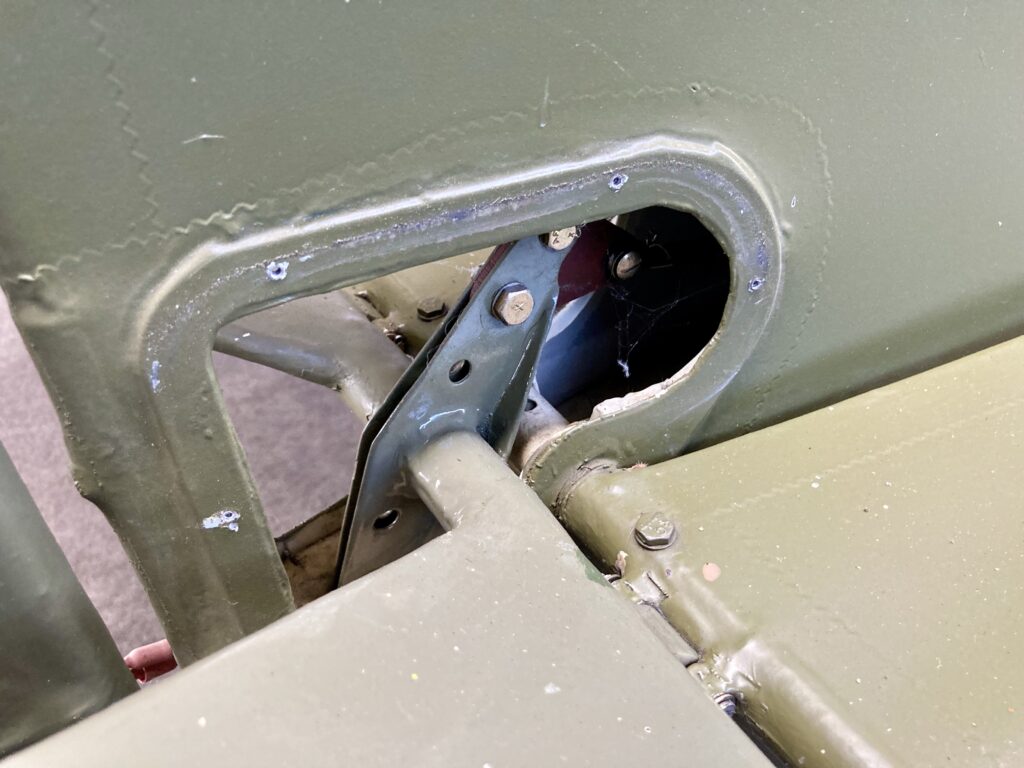
Bungee covers moved aside to inspect the simple suspension system:
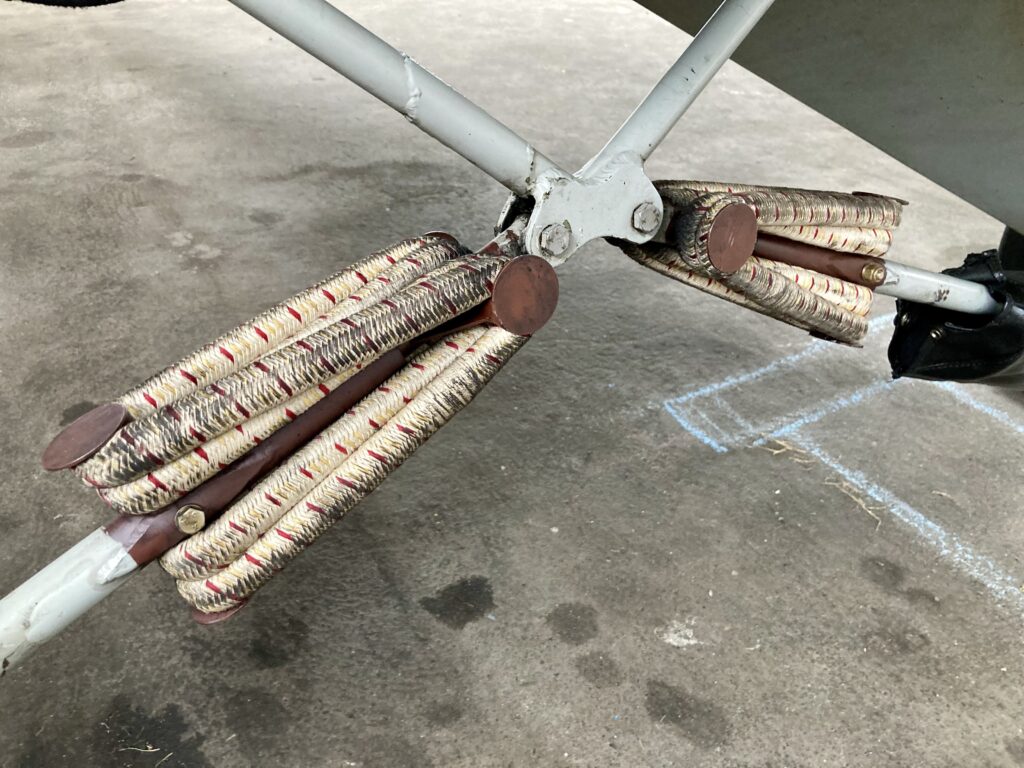
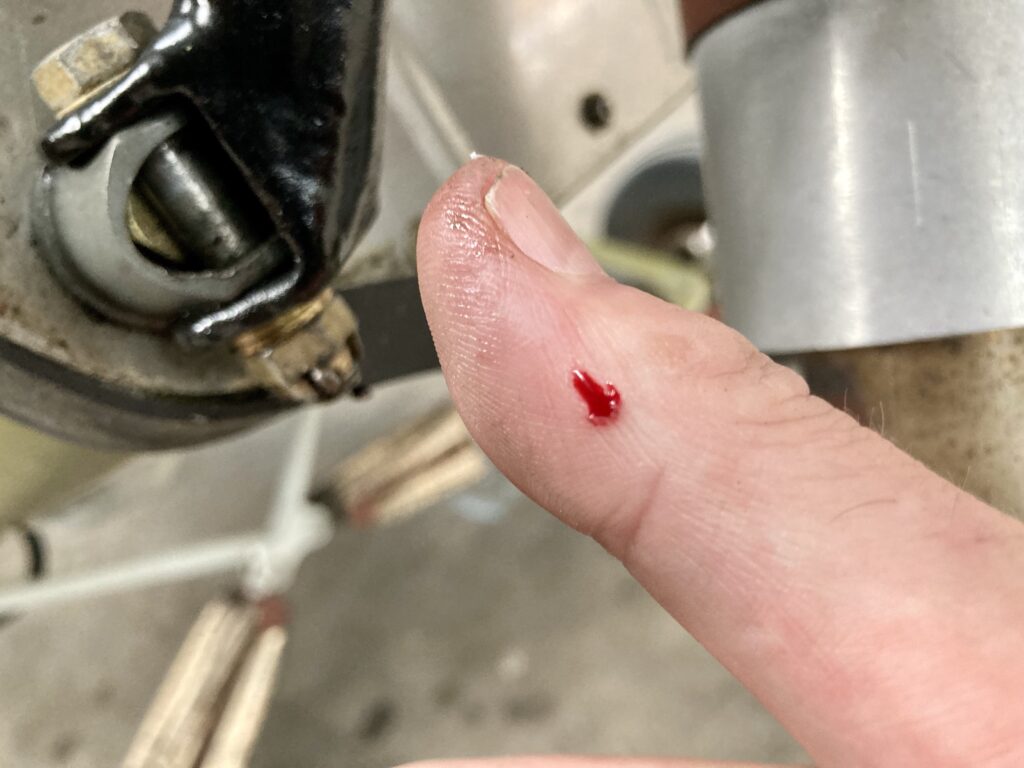
As always, maintaining an aircraft has its risks!
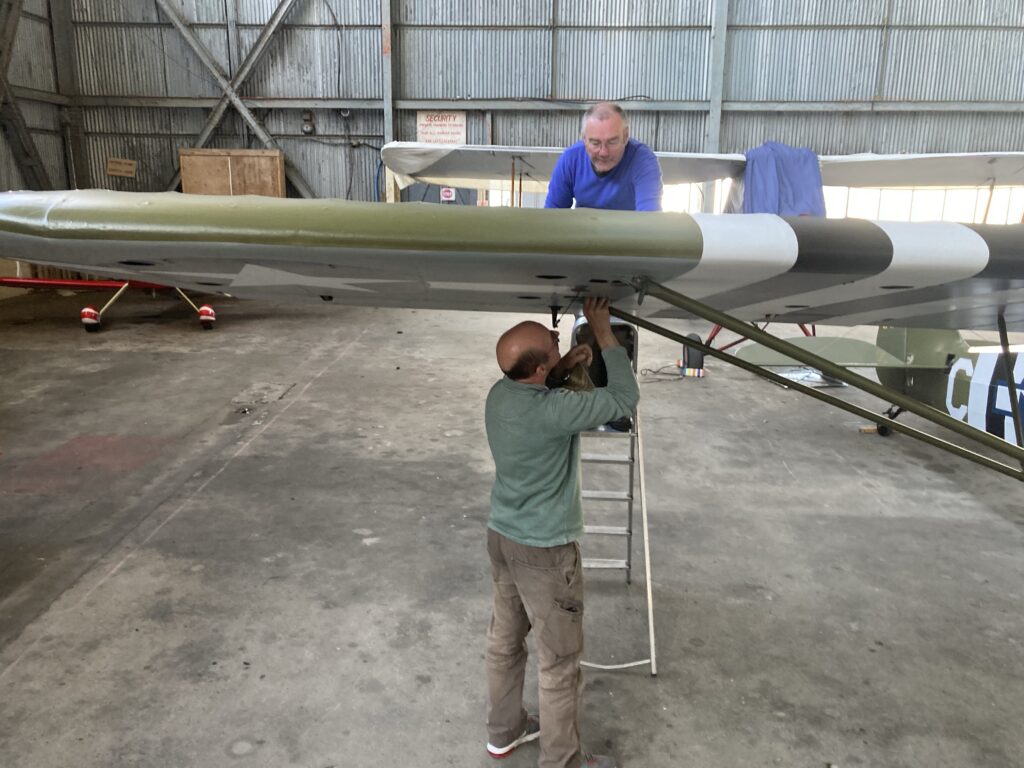
Aside from injuries, there’s always a chance of finding something concerning, and sadly on this occasion we did. Inspector Sandy (blue shirt) called in engineer and Cub expert Neil (green shirt) for a second opinion:
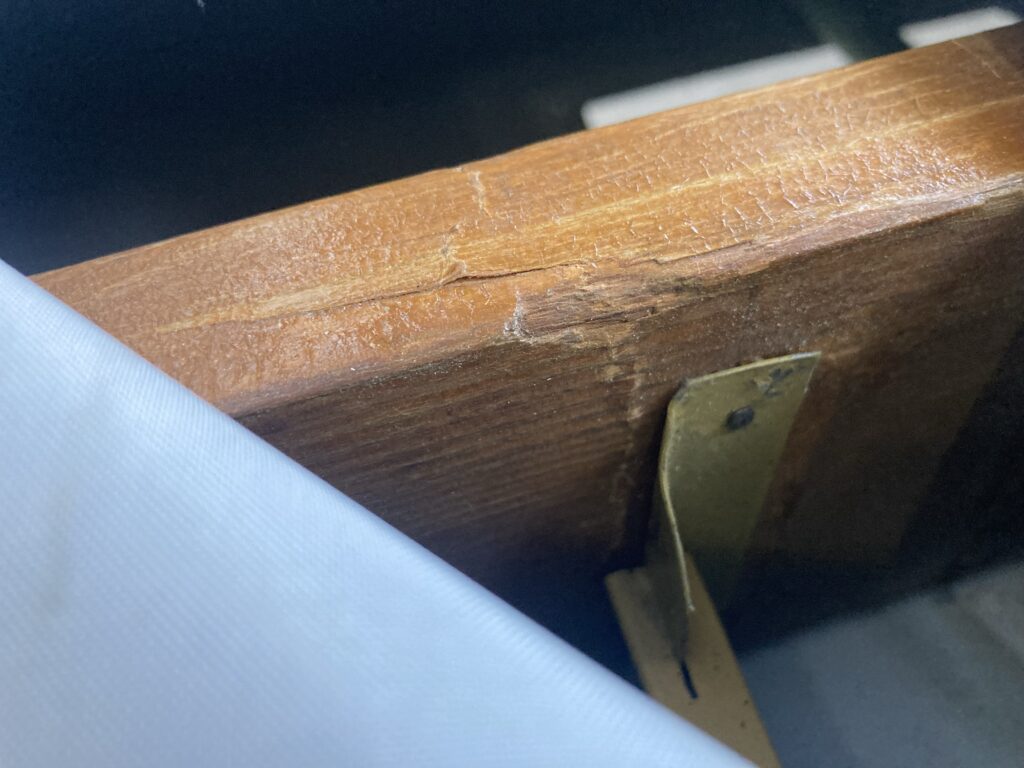
There was what could be a crack in the right rear wing spar. Visible from below, it might have just been a crack in the varnish…the top fabric was opened up to get a better look and this is what we found – a large crack. The wing is going to have to come off for repair. Depending on the depth of the crack it could mean a whole new spar.
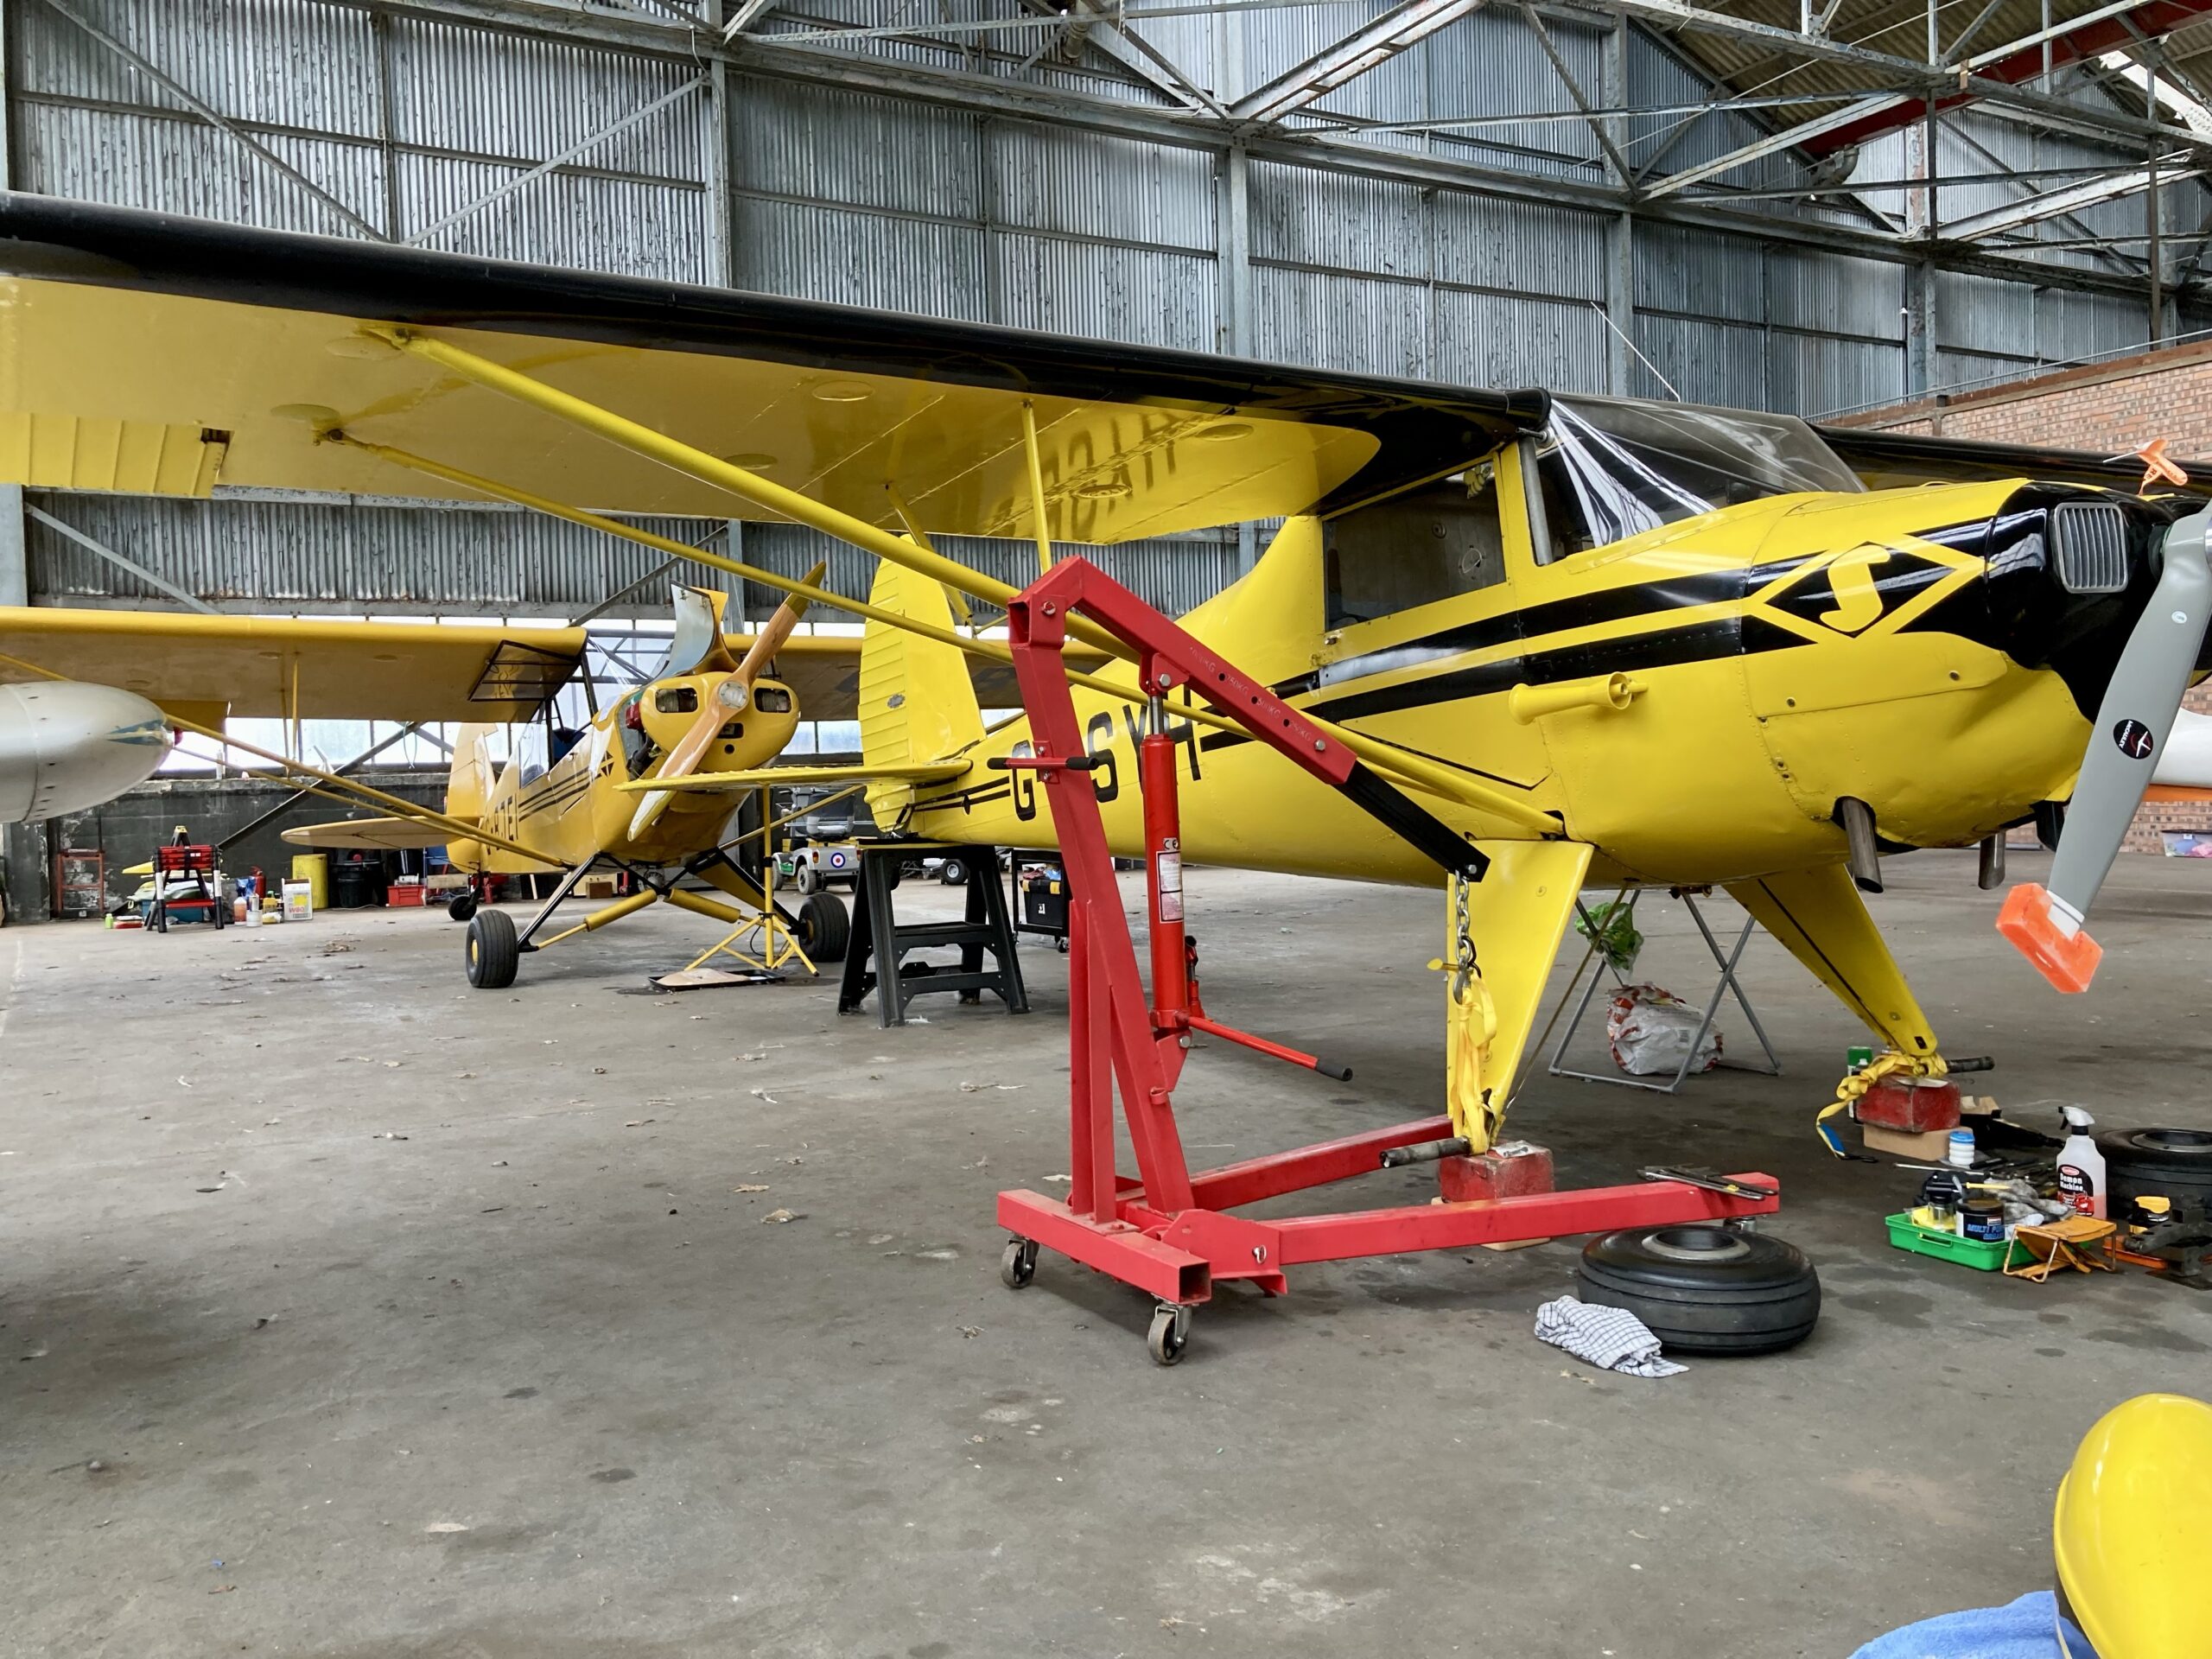
“Vintage Corner” in the hangar is starting to look like a repair shop…the joys of owning old aircraft:
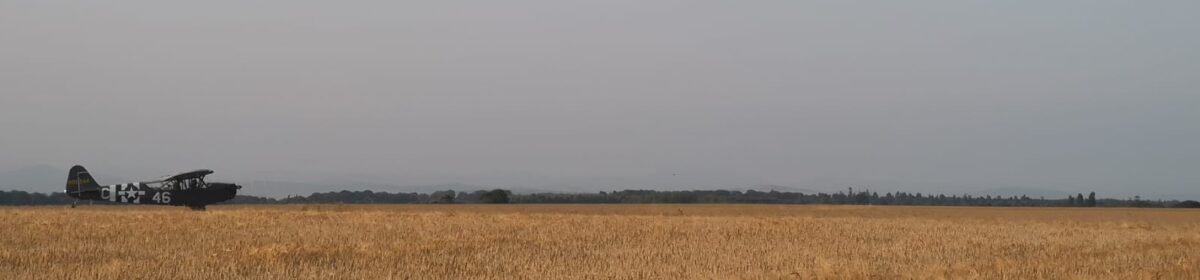
Luckily I have the RV to fly while we’re waiting for repairs…
…and at least we found the crack in the hangar, rather than at 500ft over the D-Day beaches. That would NOT have made for good TV!
Every cloud etc