It’s that time of the year. It’s cold outside and effin freezing in the hangar, especially when sitting still or lying on the cold concrete looking up trying to locate the source of a really slow but persistant fuel drip from a fuel tank. I have the fuel tank sealant ready for action but it needs a temperature of 20 degrees to work properly so we might wait a bit…
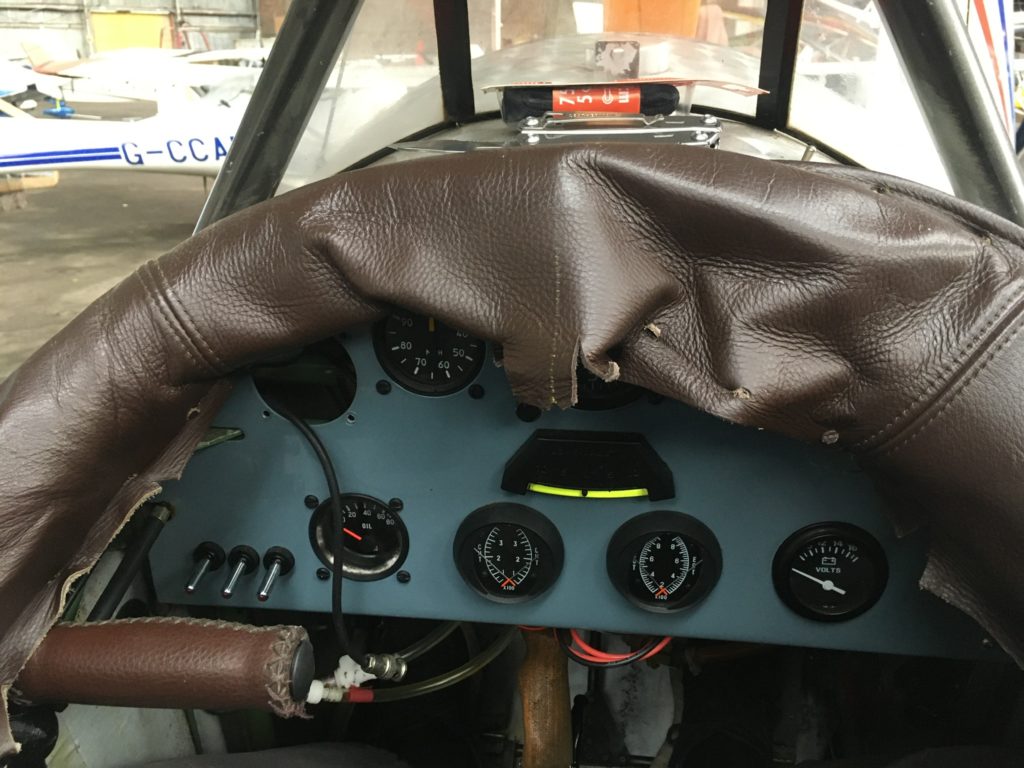
In the meantime the Eindecker needs a bit of work. Readers will remember when I took the old radio out and fixed the battery charging problem (a wire had come loose at the back of the ignition switch).
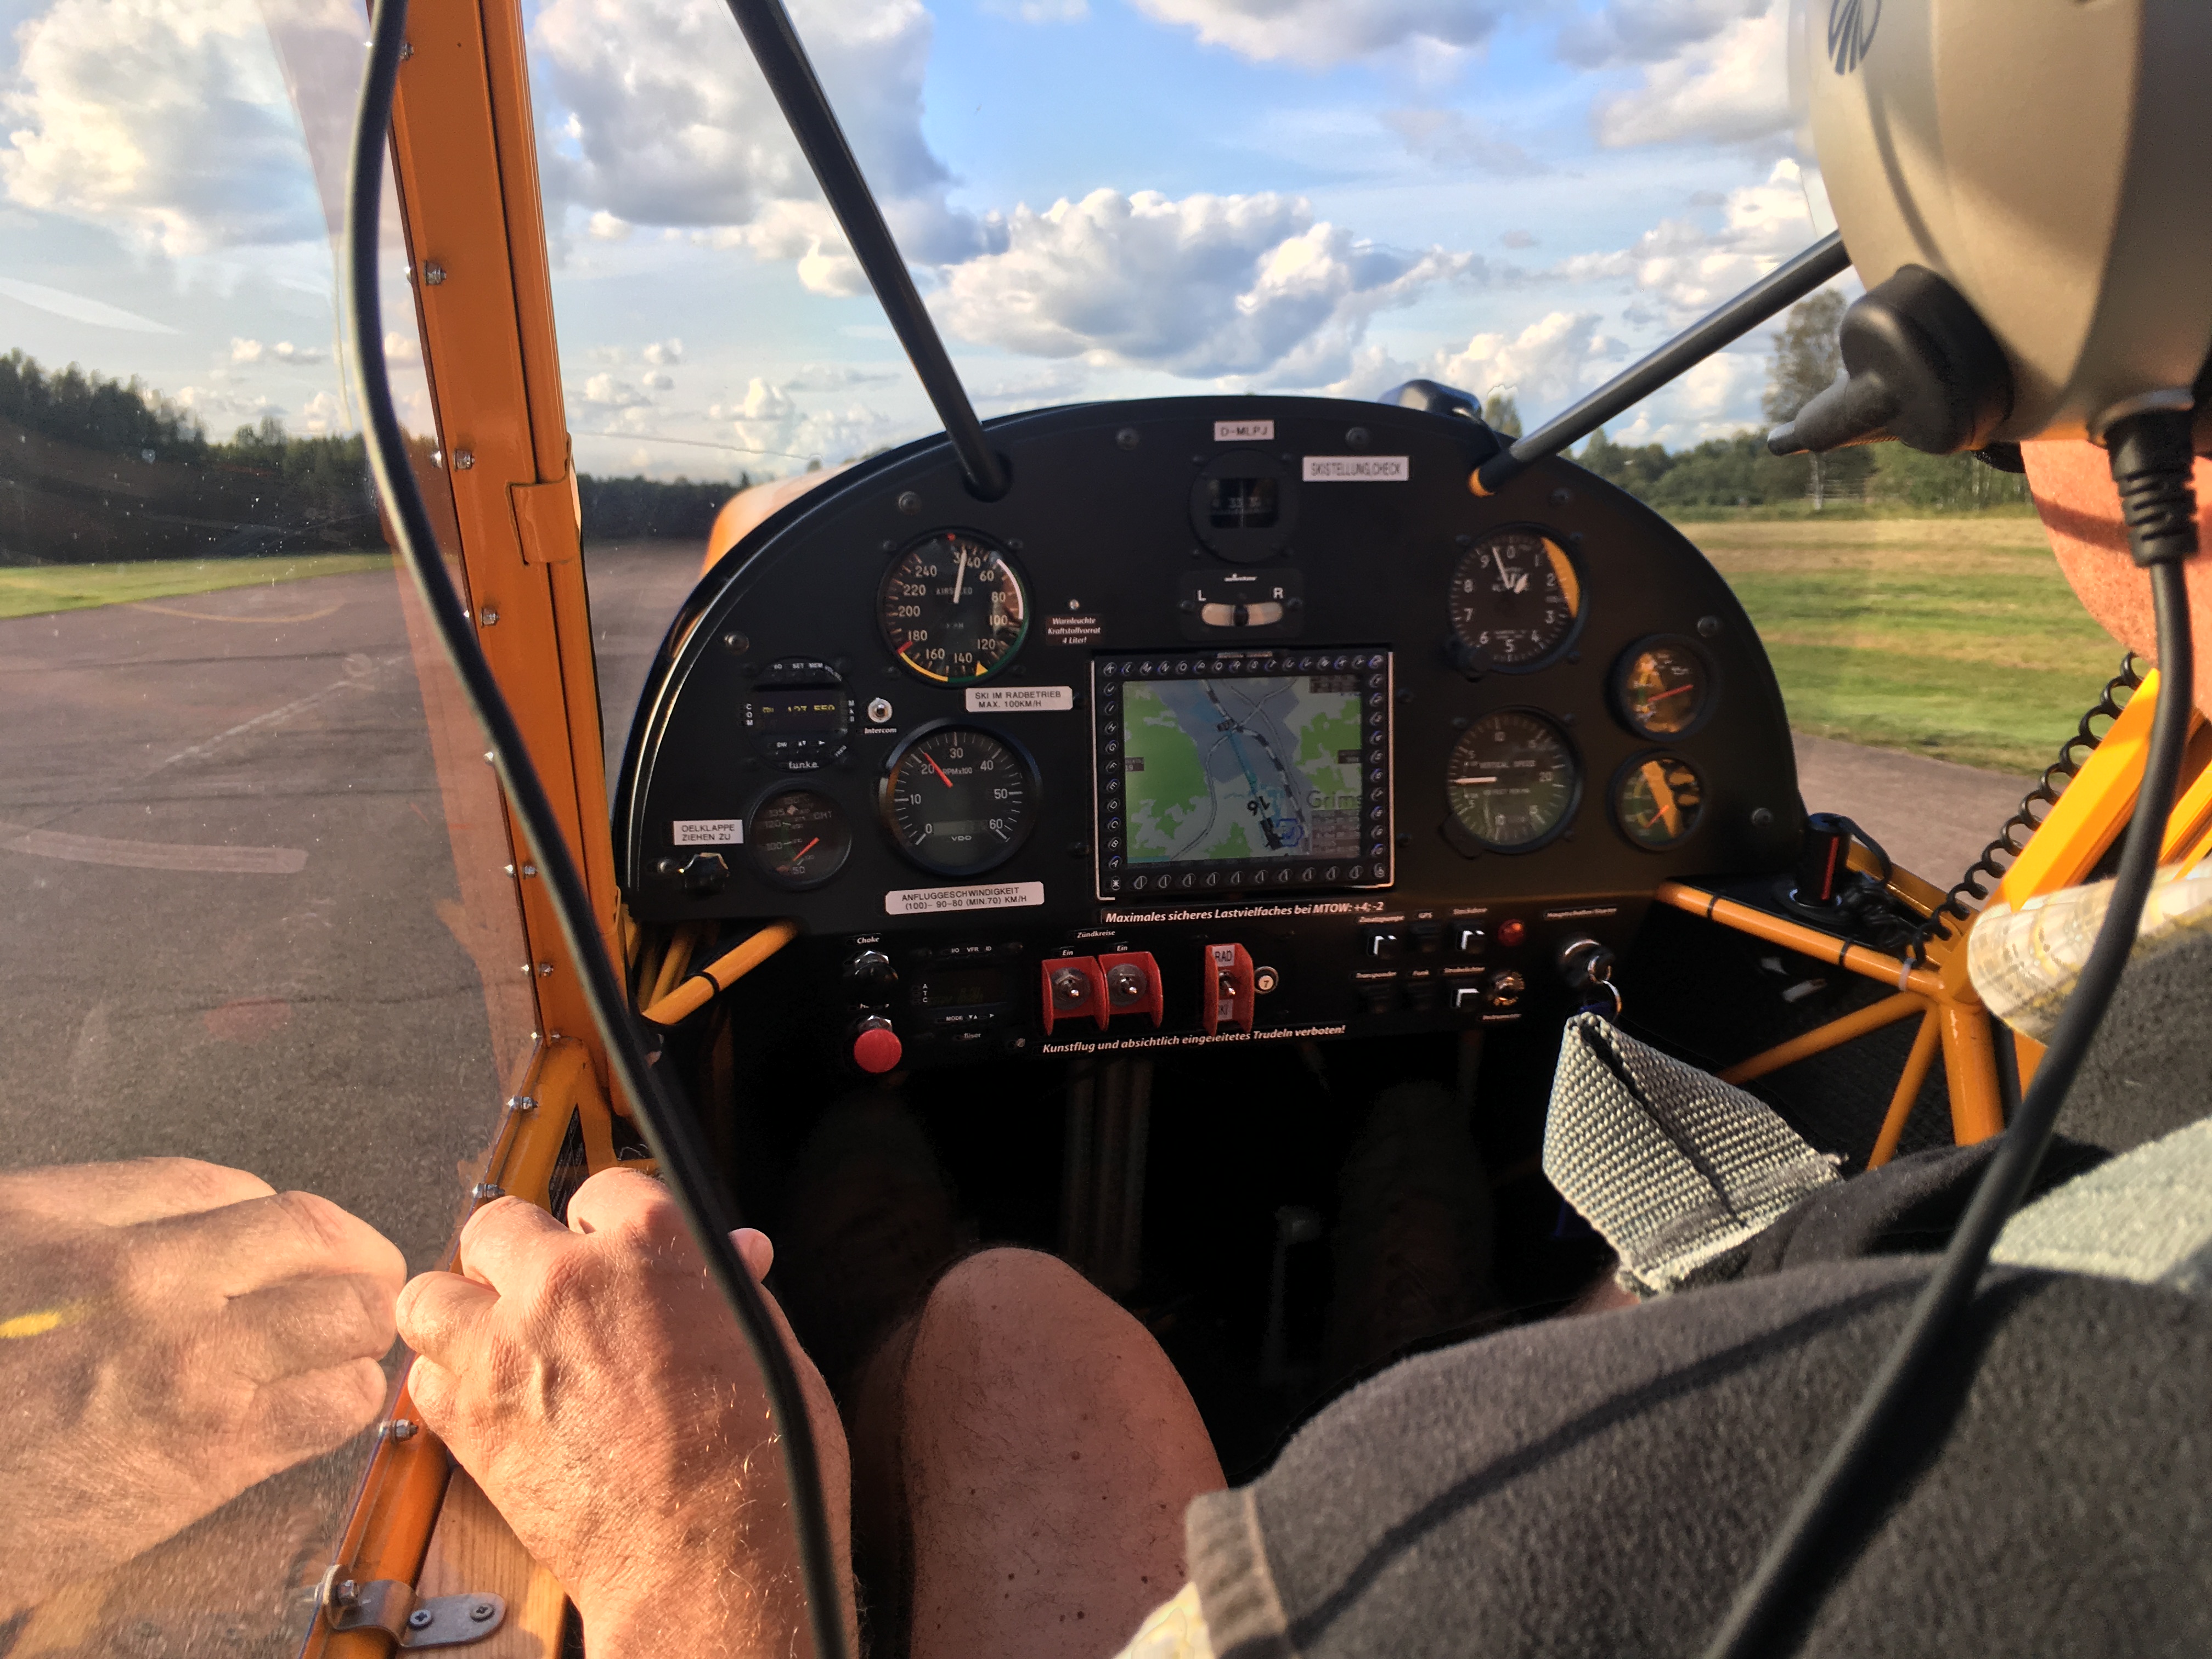
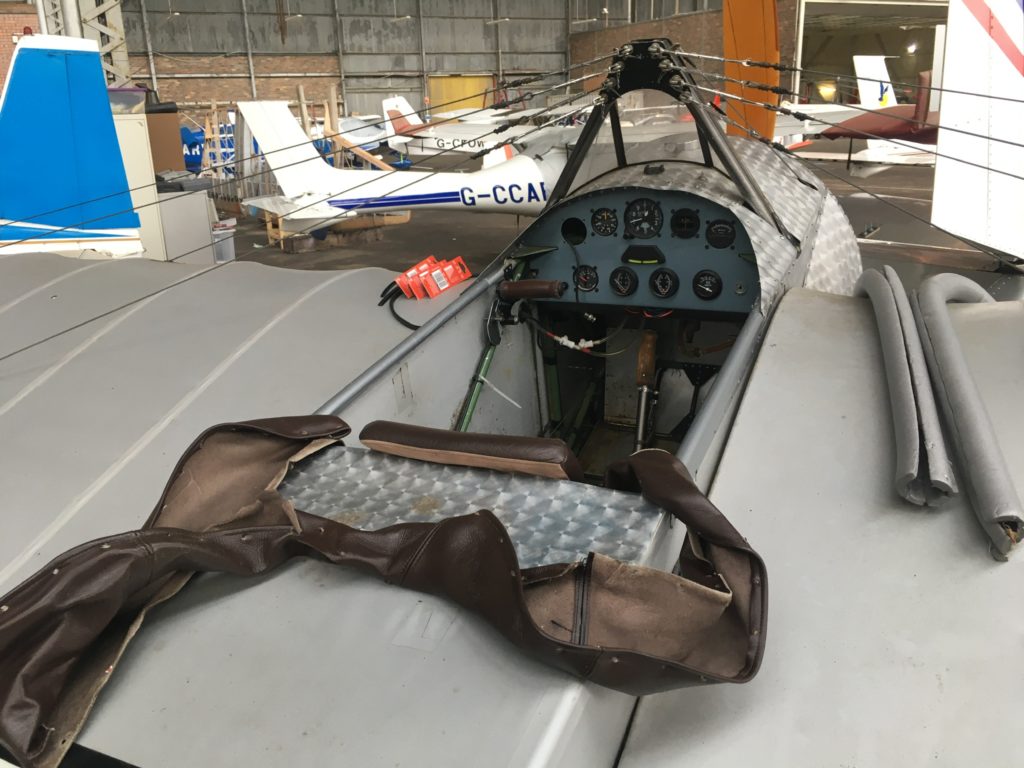
To do those tasks I had to take the instrument panel off. The only problem is that the mounting screws are underneath the leather trim around the cockpit, so that had to come off too. Here it is in its “unfurled” condition, with the foam padding (pipe insulation) on the starboard wing:
Workplace preparation is essential for the smooth completion of any maintenance task, it says here. So the replacement laces were laid out within easy reach ready to be installed:
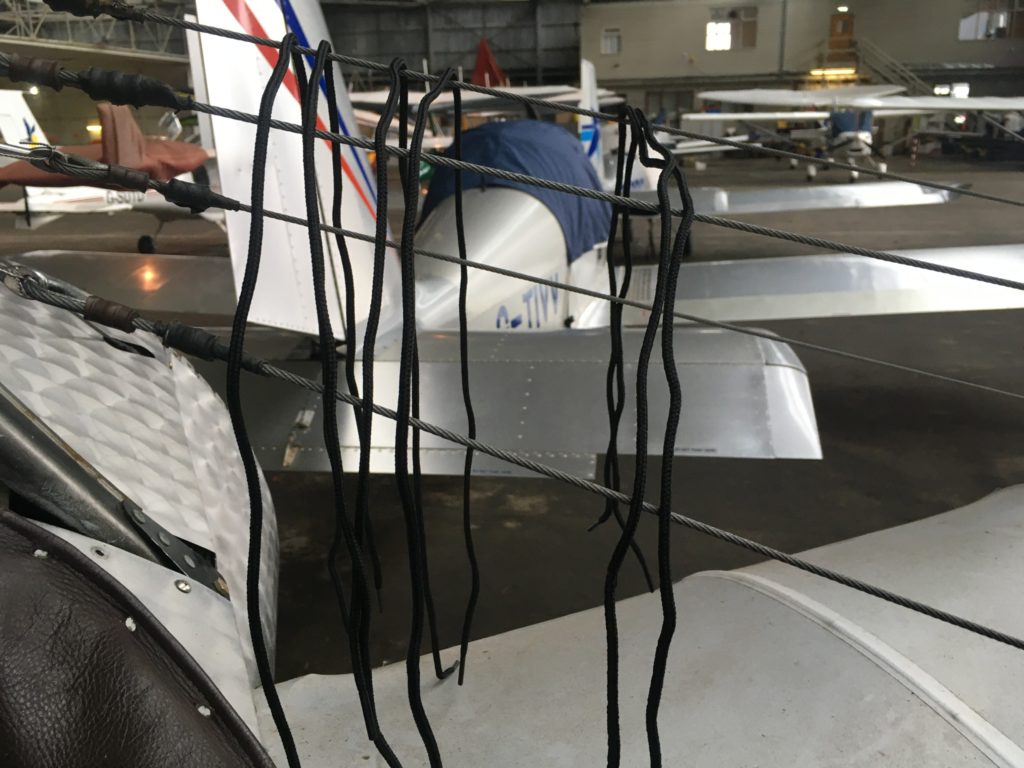
Sadly I couldn’t find any “Eindecker cockpit coaming securing lace (200cm)” at Light Aero Spares or on ebay, so I grabbed several packets of the longest bootlaces I could find in Tesco and ended up tying them together as I went along.
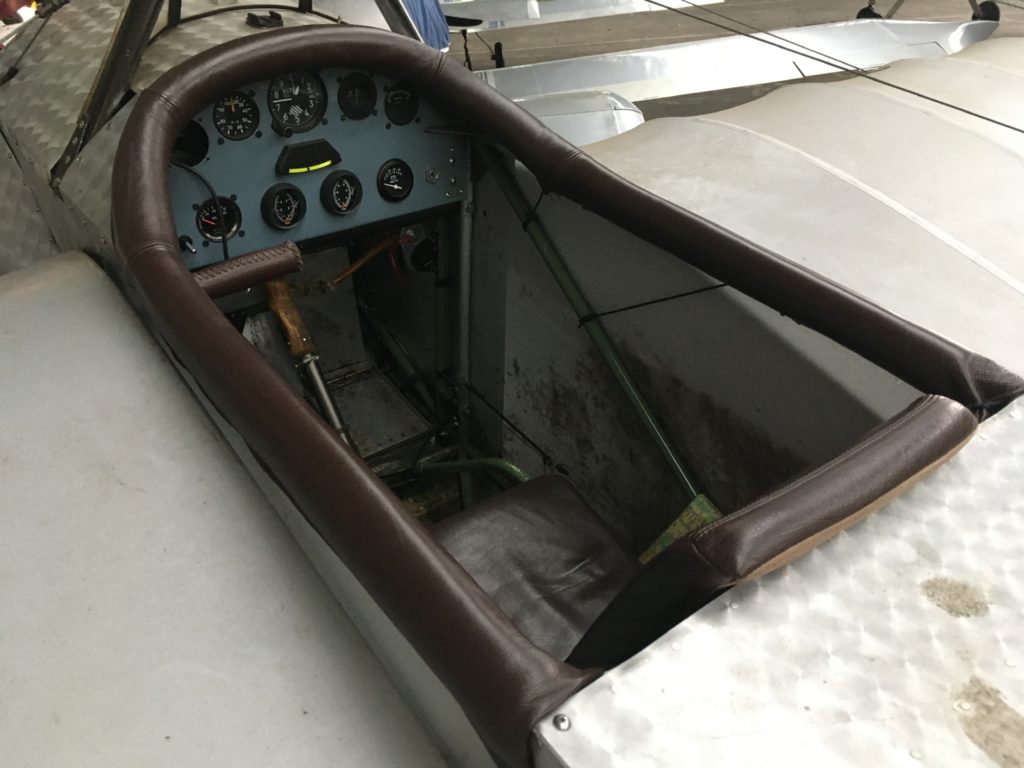
Starting at the back left corner it was easier than I remembered:
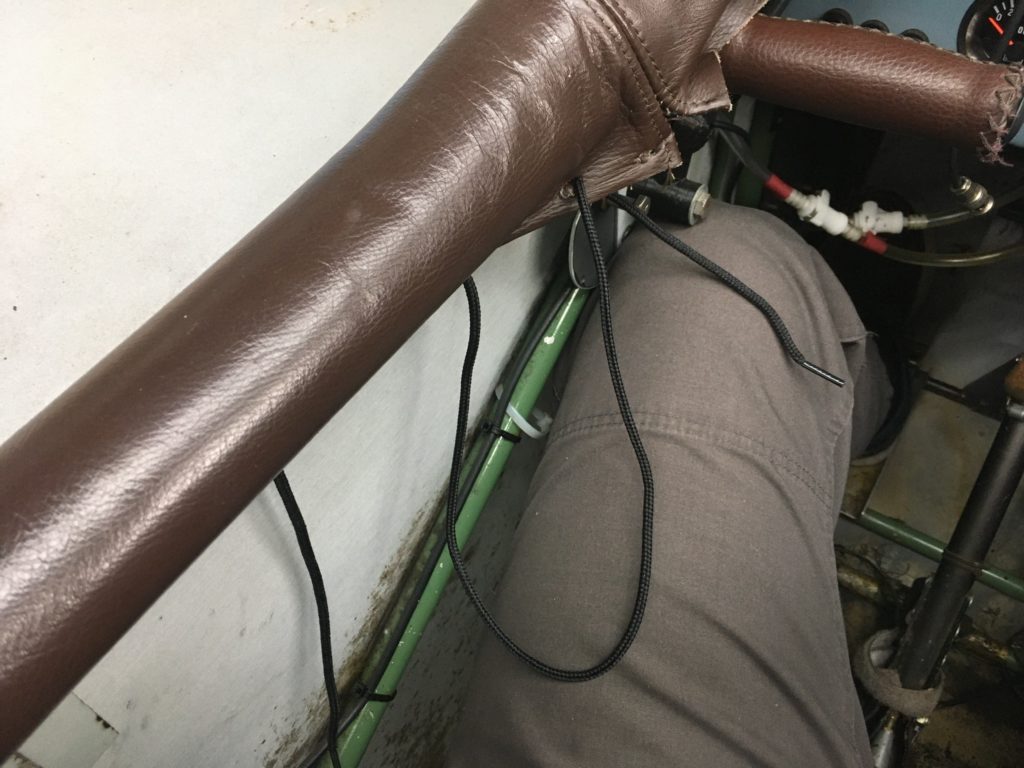
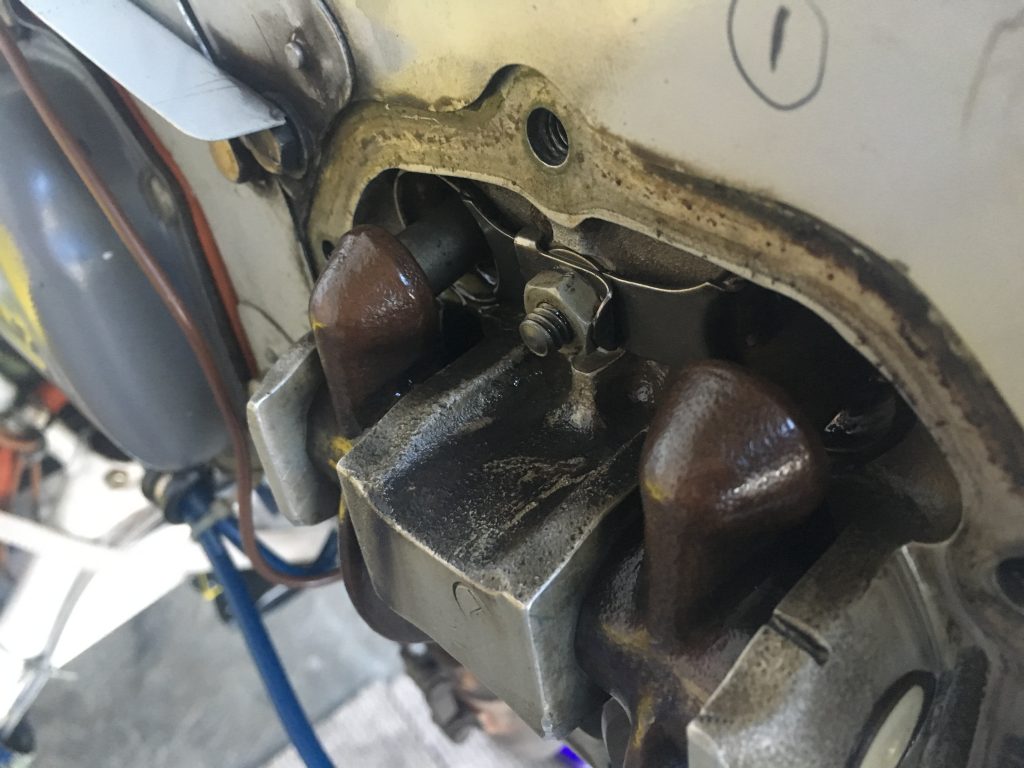
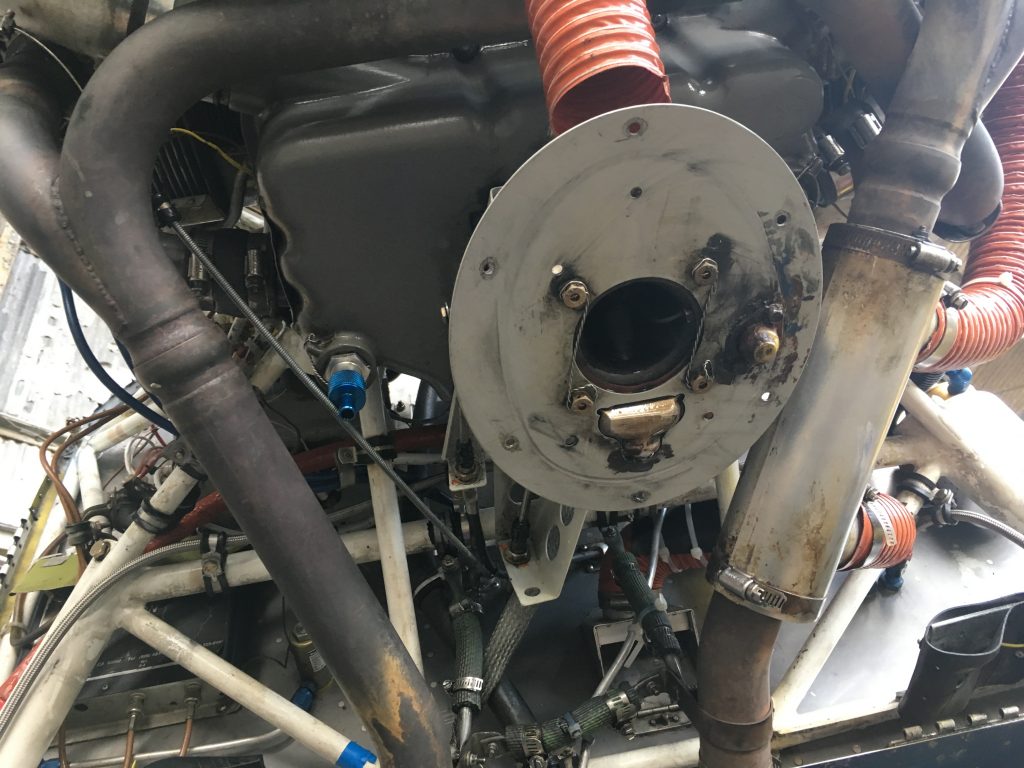
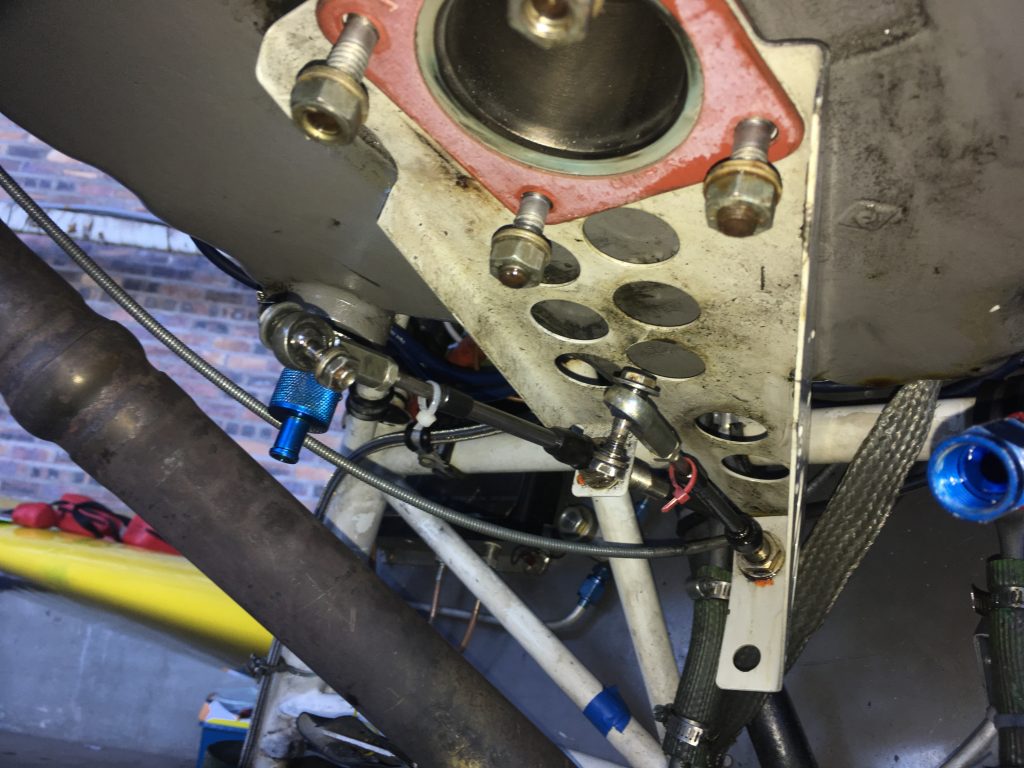
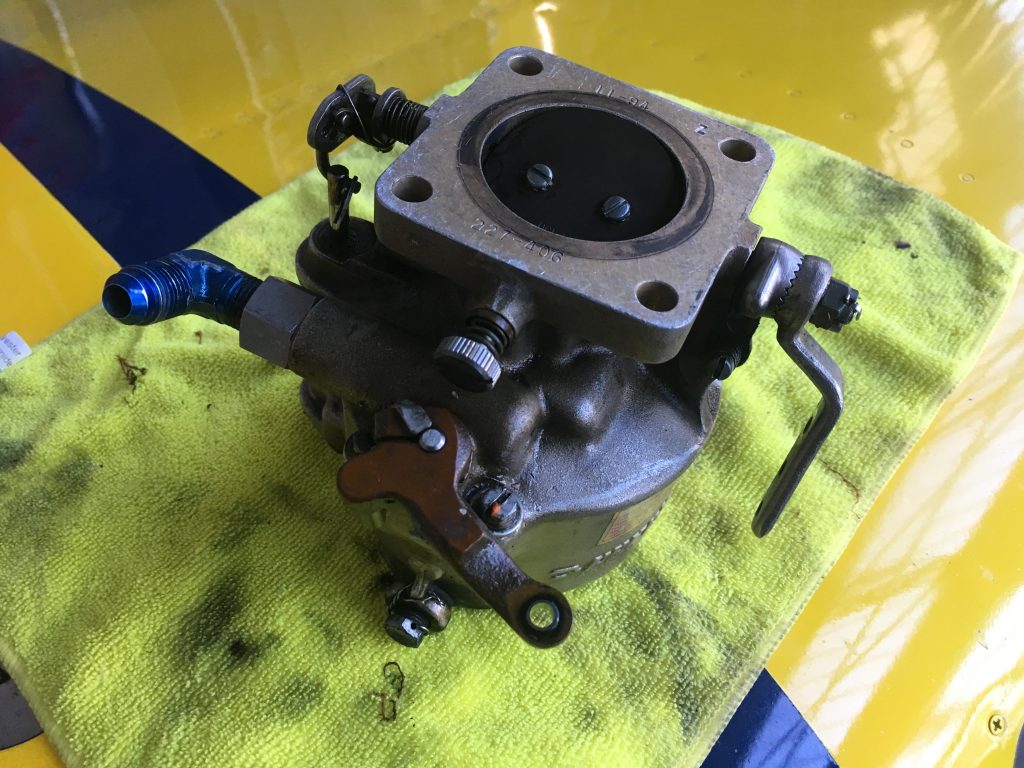
Working round the front I noticed a problem with the throttle cable, and made a mental note to come back to that afterwards. Note the leather throttle handle, the unit itself was 3D printed by the previous owner during a refurbishment:
And finally, the completed job, looking good again:
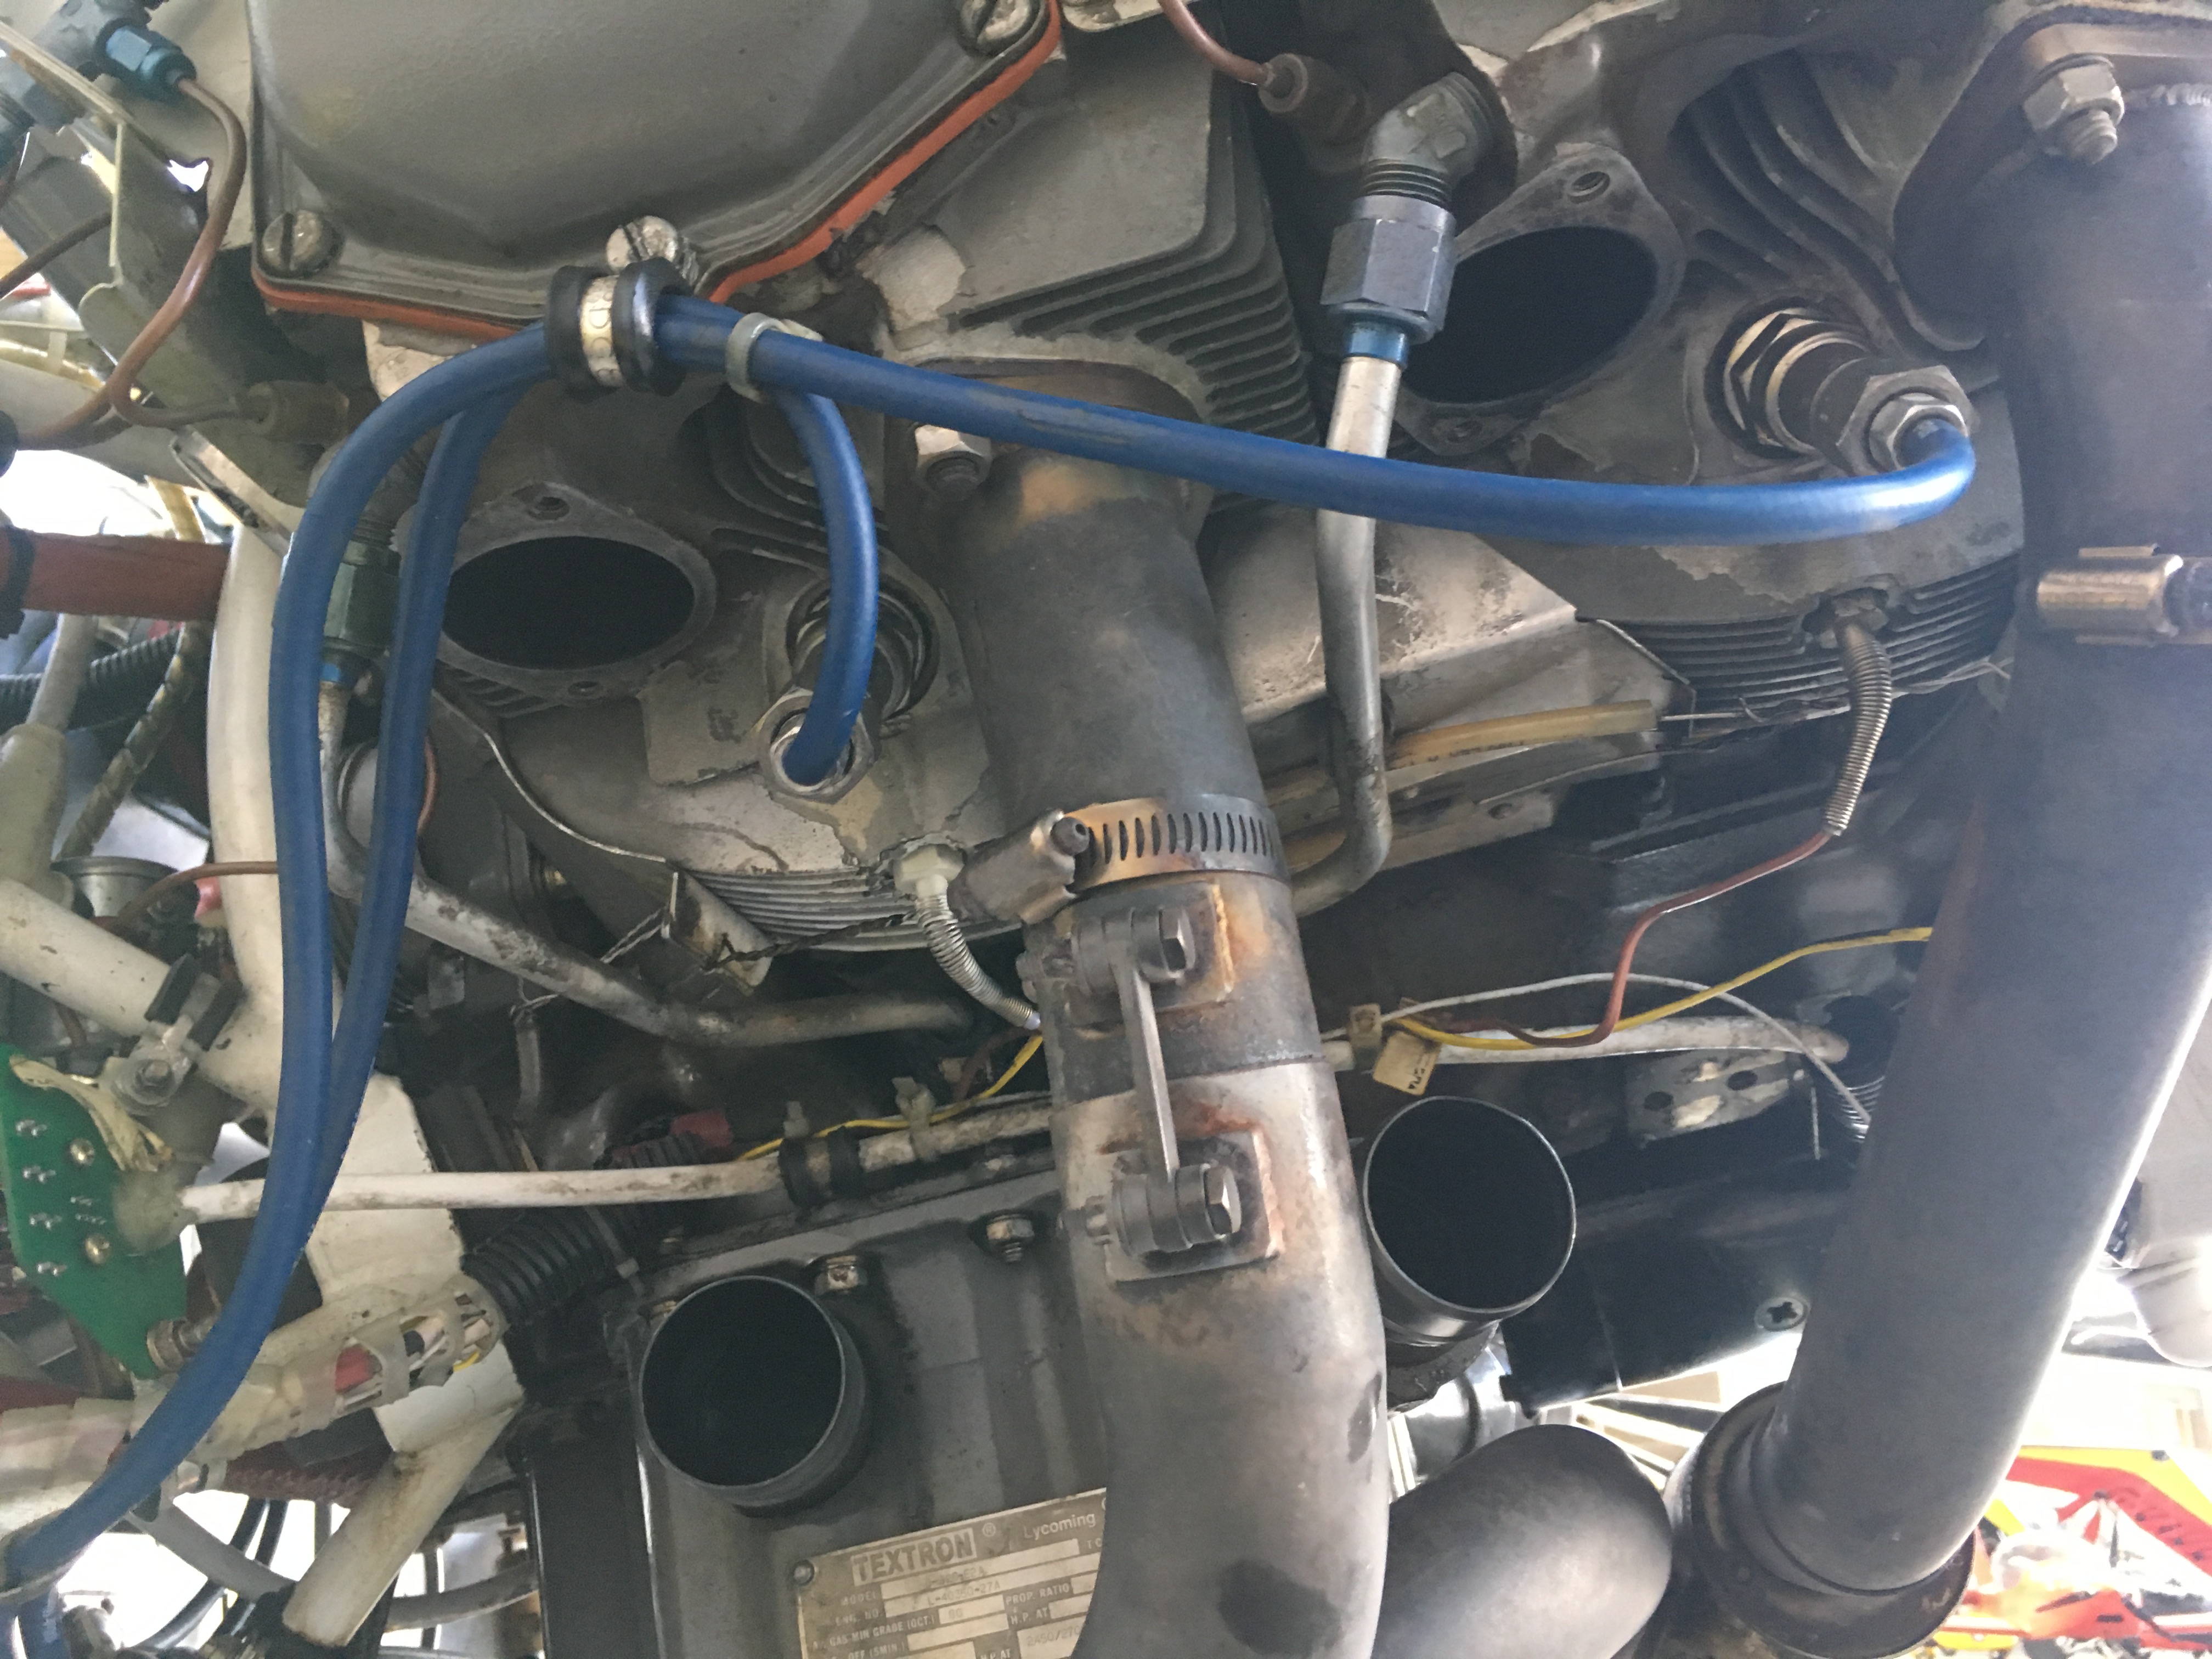
The throttle cable mounting had come loose, which meant that the last bit of throttle movement was flexing the throttle cable rather than transmitting the movement to the butterfly in the carburettor, and with the throttle fully forward the engine would not have been producing full power. All secure and fixed now, ready for the weather to improve, the evenings to lengthen and the winds to die down a bit. Evening patrol season is coming!